More control over Figma SVG exports
We are in the process of redrawing all of the source artwork for our design system's icon set at work, and he other day we came up against some issues with Figma's default SVG exports. I started googling for articles about how to get cleaner exports from Figma, but kept coming up short for answers. We were eventually able to resolve our particular issues and now have a good process in place for exporting SVGs, but I thought I would take some time to write the blog post I wish I'd found when I was googling.
What I mean by "cleaner" exports? For our particular use case, we had the following specific requirements for the final SVG icon output.
- All artwork needs to be flattened to expanded
<path>elements—That means no live strokes or shape elements in the SVG markup. We draw the source artwork for our icons with live strokes that get flattened for production. We distribute our final icon set this way so that if the icons are scaled up all of the shapes in the icons scale proportionally and we don't end up with weird thin strokes in the icons. - No
clip-pathorfill-ruleattributes—the fill rule attribute can cause weirdness in the way browsers display the icons after exported (more on that later). Figma does its best to apply these attributes based on the way the vector art was drawn, and boolean operations (union, subtract, etc.) are performed, but for our purposes, we prefer to eliminate the use of these attributes all together. - We need the parent SVG elements to use the
fill="currentColor"attribute instead of individual elements having their own fill attributes hard coded. We do this so that the color of each icon can be changed with the CSSfillproperty.
How we did it
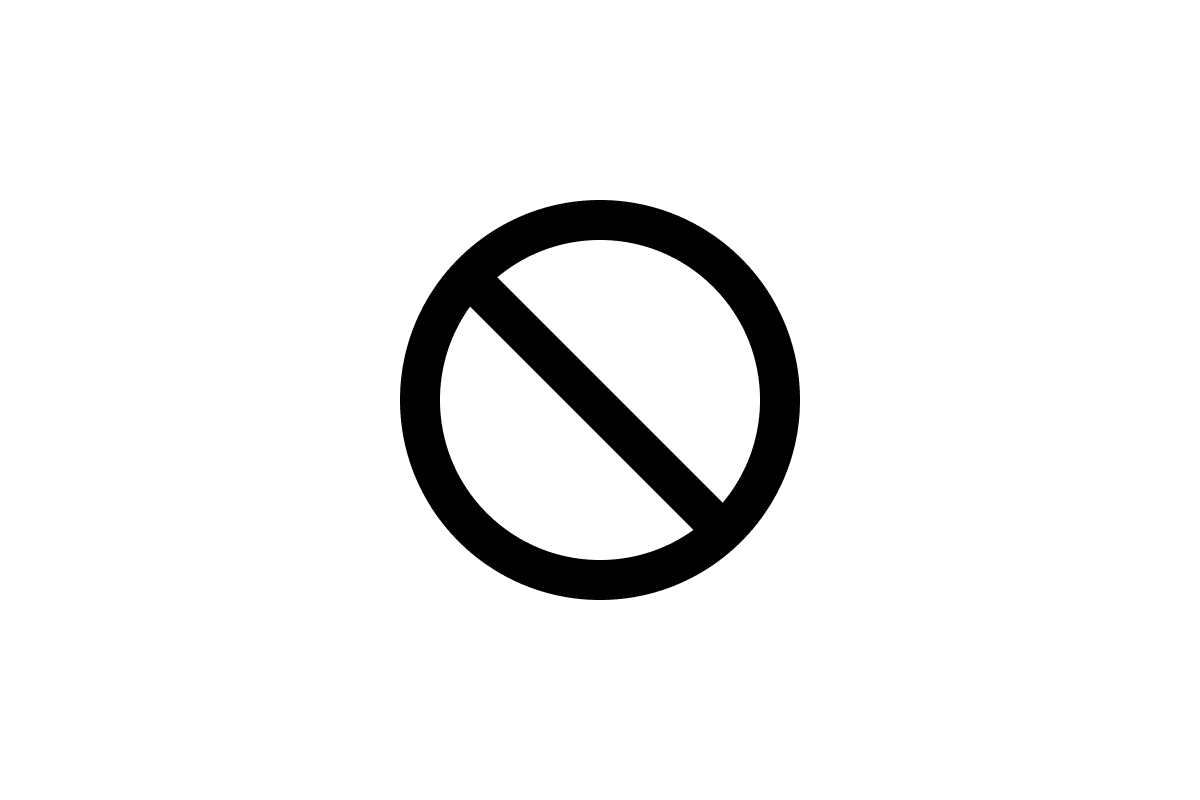
After a fair bit of trial and error I discovered a handful of small but important steps we would need to take before exporting the icons that would ultimately get us close to the SVG markup we needed. Before I go any further, it might be helpful to show some examples of the Figma default SVG export markup vs. the final exported markup that we were after. All of these examples are based on this relatively simple example of a ban icon.

Here is the default Figma exported SVG markup for the ban icon after outlining all strokes, using the union boolean operation to merge the overlapping out lines, and flattening the merged artwork. As you can see there is quite a bit of cruft in there that, in our case, could be much simpler. There are unnecessary groups, <def> tags, and a <clipPath> element used by Figma to create the Frame that contains the artwork in the app.
<svg width="20" height="20" viewBox="0 0 20 20" fill="none" xmlns="http://www.w3.org/2000/svg">
  <g clip-path="url(#clip0_24_2)">
    <path fill-rule="evenodd" clip-rule="evenodd" d="M20 10C20 15.5228 15.5228 20 10 20C4.47715 20 0 15.5228 0 10C0 4.47715 4.47715 0 10 0C15.5228 0 20 4.47715 20 10ZM14.6687 16.4971C13.3548 17.4429 11.7425 18 10 18C5.58172 18 2 14.4183 2 10C2 8.25752 2.55708 6.64516 3.50286 5.33129L14.6687 16.4971ZM16.1348 15.1348L4.86515 3.86515C6.25462 2.70094 8.04545 2 10 2C14.4183 2 18 5.58172 18 10C18 11.9545 17.2991 13.7454 16.1348 15.1348Z" fill="black" />
  </g>
  <defs>
    <clipPath id="clip0_24_2">
     <rect width="20" height="20" fill="white" />
    </clipPath>
  </defs>
</svg>
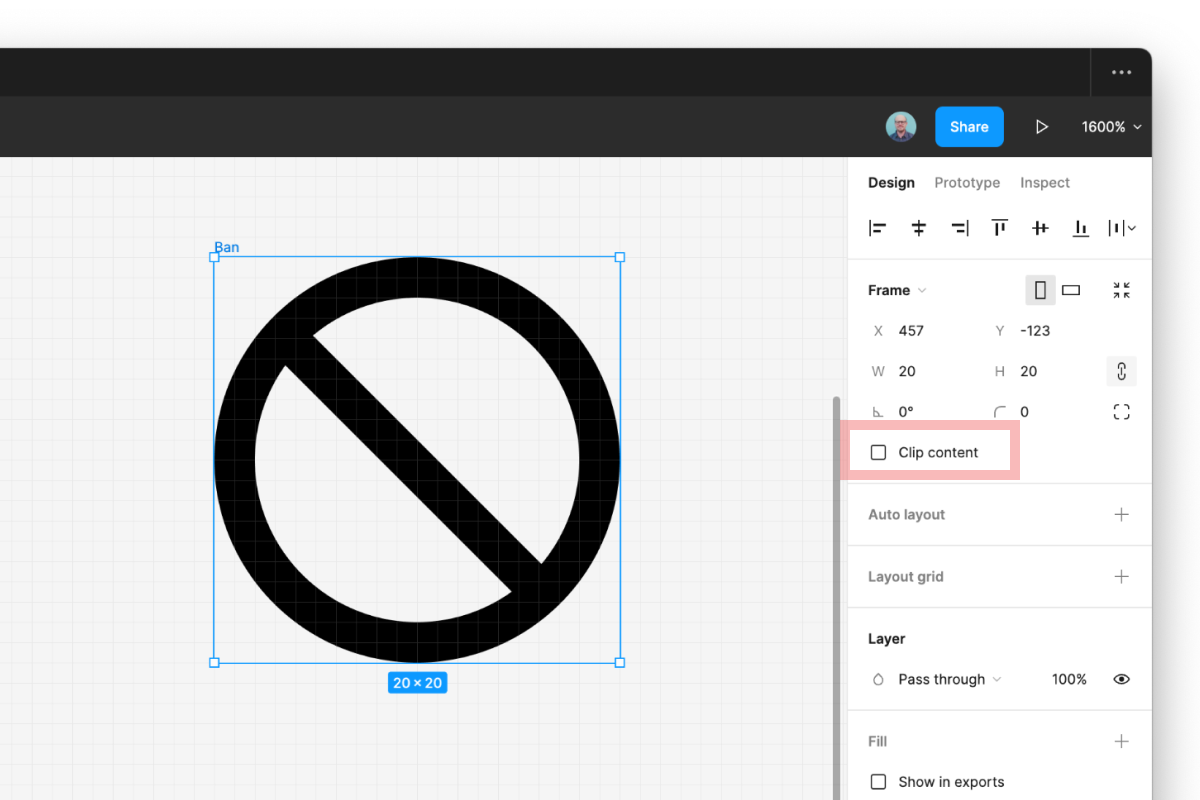
The first step to cleaning this up is making sure that the Clip content checkbox is uncheck on the icon's frame in Figma. To do this select the icon's frame in the left sidebar, or click on the frame title that's displayed in the upper left corner of the frame itself. Then look at the explorer in the right sidebar and you should see the Clip content checkbox. Make sure that is unchecked.

After clip content is uncheck, if we re-export the icon we get an SVG with much simpler markup. Now we're getting somewhere!
<svg width="20" height="20" viewBox="0 0 20 20" fill="none" xmlns="http://www.w3.org/2000/svg">
    <path fill-rule="evenodd" clip-rule="evenodd" d="M20 10C20 15.5228 15.5228 20 10 20C4.47715 20 0 15.5228 0 10C0 4.47715 4.47715 0 10 0C15.5228 0 20 4.47715 20 10ZM14.6687 16.4971C13.3548 17.4429 11.7425 18 10 18C5.58172 18 2 14.4183 2 10C2 8.25752 2.55708 6.64516 3.50286 5.33129L14.6687 16.4971ZM16.1348 15.1348L4.86515 3.86515C6.25462 2.70094 8.04545 2 10 2C14.4183 2 18 5.58172 18 10C18 11.9545 17.2991 13.7454 16.1348 15.1348Z" fill="black"/>
</svg>
The last thing we needed to do in our case is get rid of those fill-rule and clip-rule attributes. The fill-rule attribute defines the algorithm used to determine what is the inside part of an SVG shape, but in our testing sometimes the fill-rule attribute cause some inconsistencies in the way our icons displayed. Ultimately we want all of the fill-rules in our artwork to be "non-zero". I'm not 100% sure I understand what a non-zero value does, but here is the explainer on the MDN docs if you're interested. Luckily, we discovered two plugins that helped us convert the fill-rules created by Figma and modify the exported markup to get what we needed.
Fill rule editor plugin
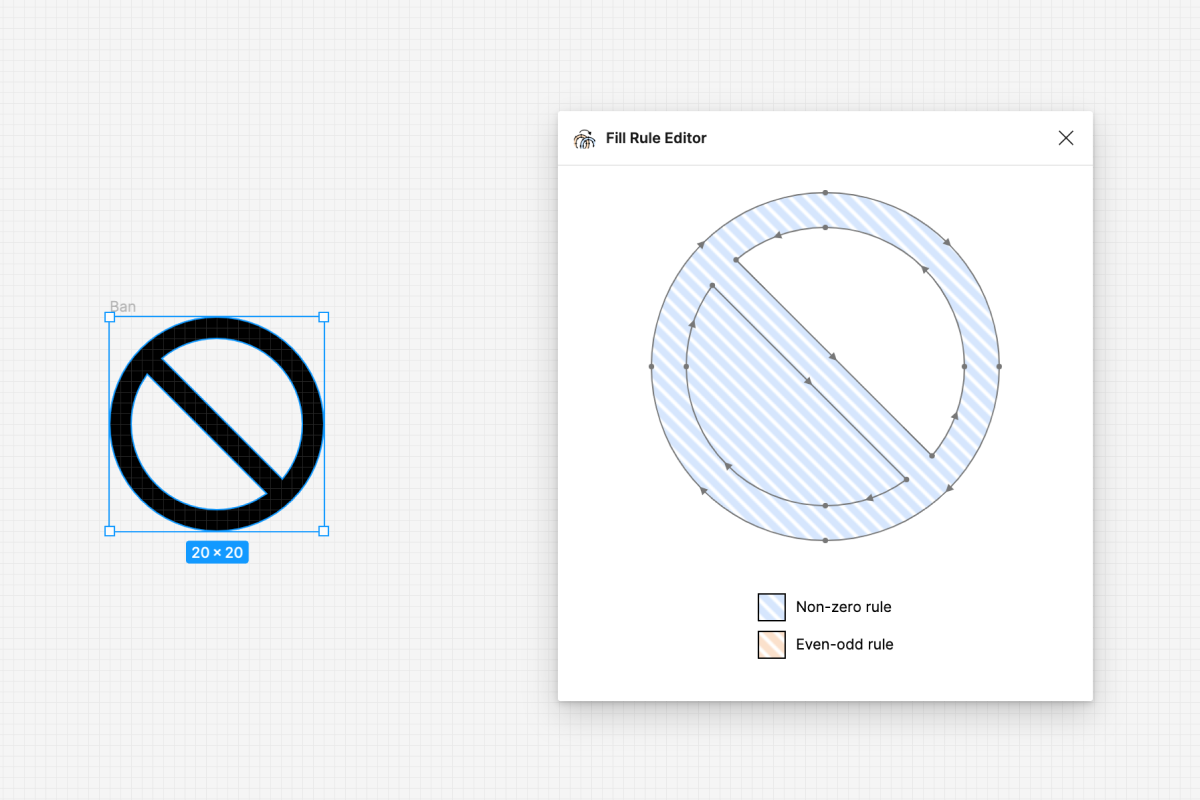
The Fill Rule Editor Figma plugin lets you edit the fill rules of the vector object before you export them. We used this plugin to convert/remove any fill-rule attributes that Figma was automatically setting to evenodd. Once we figured this part out, we were 90% of the way to the cleaner SVG export we were looking for.

The fill-rule editor plugin let's you convert the fill rules of the vector artwork including the inside shapes. For example in the preceding screenshot, the bottom half-moon inside shape fill-rule needs to be converted/removed. This plugin allows us to convert all of the flattened vector objects to non-zero fill rules and remove the fill rules for the inside shapes by clicking on the gray strokes.
SVG Export plugin
The other plugin that helped us with the remainder of our SVG clean up and optimization is the SVG Export plugin. This plugin uses SVGO under the hood and has all the same options as the popular Node.js-based tool for optimizing SVGs.

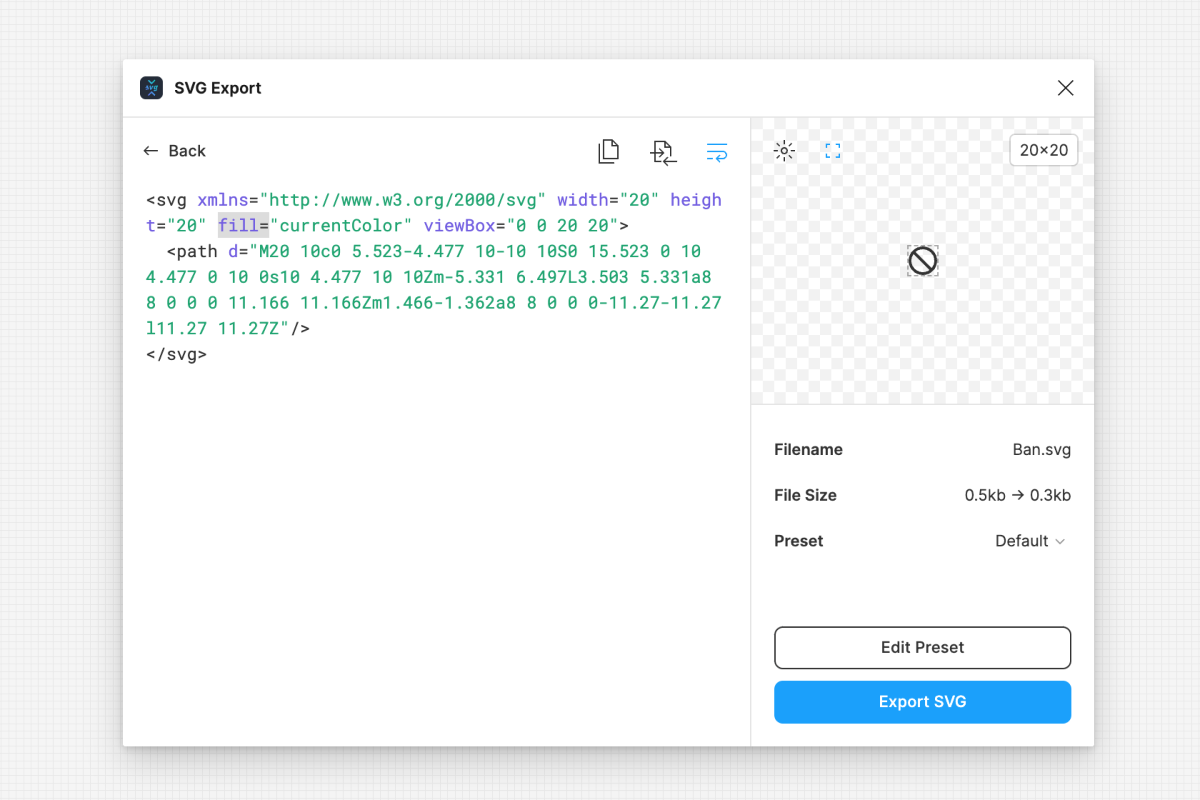
The last step in our process was using the SVG Export plugin to remove any remaining clip-rule attributes and setting the fill attribute of each parent <svg> element to currentColor. This plugin is super handy and will definitely be part of my Figma toolkit moving forward.
Wrapping up
Here is the exported SVG markup we ultimately ended up with that met all of our criteria for our icon set.
<svg xmlns="http://www.w3.org/2000/svg" width="20" height="20" fill="currentColor" viewBox="0 0 20 20">
  <path d="M20 10c0 5.523-4.477 10-10 10S0 15.523 0 10 4.477 0 10 0s10 4.477 10 10Zm-5.331 6.497L3.503 5.331a8 8 0 0 0 11.166 11.166Zm1.466-1.362a8 8 0 0 0-11.27-11.27l11.27 11.27Z"/>
</svg>
We were even able to make improvements over our old Illustrator-baser export process. There was no way to set the fill to currentColor in Illustrator so we would have to add the fill="currentColor" attribute to the exported SVGs by hand. This way is much easier and more fool-proof.
The requirements we had for our exported SVGs won't necessarily be the same as your project, but in case you were looking for a way to truly flatten all of your SVGs to non-zero paths when you export them from Figma, now you know how!